Time for another. This one I cooked up myself and I'm quite happy with the results

I used to do a lot of mindless stuff trying to automate rendering original images but I never really thought about it very smartly. While at work a few days ago I wrote up a photoshop action to build bump maps and accidentally applied the wrong filter but thought the results were cool. I elaborated on my apparent mistake, and voila!
So, starting out, I will be using
Photoshop CS6 again.
CTRL+N this shit. Set your document size to anything, preferrably a square document. I'll be using 1000x1000px. Must be in RGB to achieve the effect.
Choose a VERY LIGHT foreground colour (off-white works best) and quite a dark, but saturated background colour for your swatches. You can hit D then X to get set up with black and white just to see the effect (xd) and colour it afterwards with adjustments.
 Fill
Fill your canvas with one of your colours.
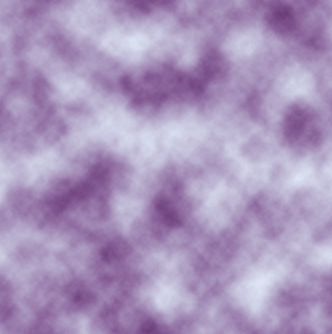
Filter > Render >
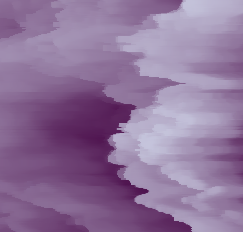
Difference Clouds. Hit
CTRL+F a few times so you're set up with a fairly randomized cloud.
NOTE: If you want a simpler looking final result, use the regular Filter > Render Clouds at this stage. Difference Clouds will add extra colours to your image, and you may want to avoid this if you want controlled results.

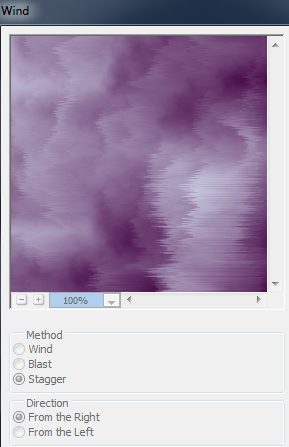
Apply Filter > Stylize >
Wind. You can choose what you like but for the particular results I'm looking for I choose
Stagger. CTRL+F and repeat this filter a couple of times, so you see a bit of variance.
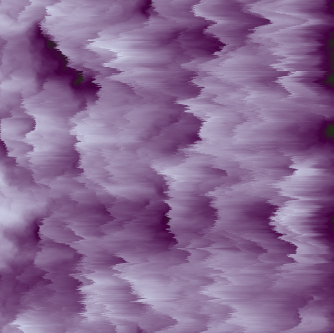
Now navigate to Filter >
Filter Gallery. Find
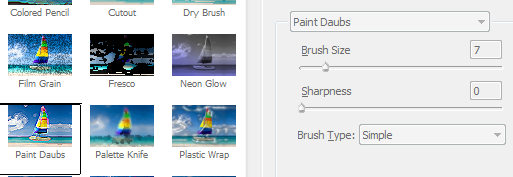
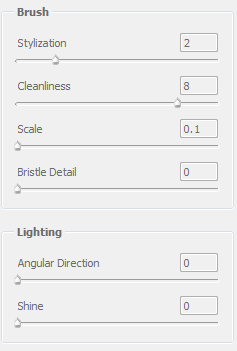
Paint Daubs under the Artistic folder. I used these settings:
Repeat this with CTRL+F once more.

Now go to:
Filter > Oil Paint (
CS6)
Filter > Stylize > Oil Paint (
CC)
Preferably using these settings, although you can tweak the first two options. The filter looks like shite otherwise:
Repeat the filter to your liking.
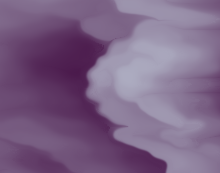 CTRL+T
, right click,
Rotate 90 Degrees CW. Sharpen to taste.
 Cool technique Spenner, insta-art!!! What else can this process do?
Glad you asked, it's actually a process you can loop to build some interesting results, which is why I made some Actions for it.
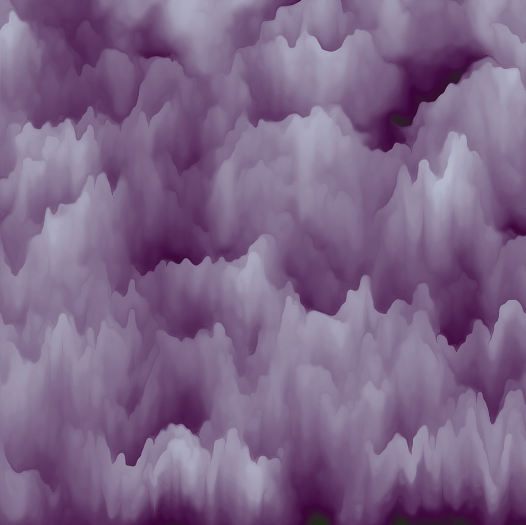
If you repeat the tutorial without the Render > Clouds portion you will end up with some cool textures. Note that the more colours you whipped up with your original Difference Clouds render, the better this loop works out.
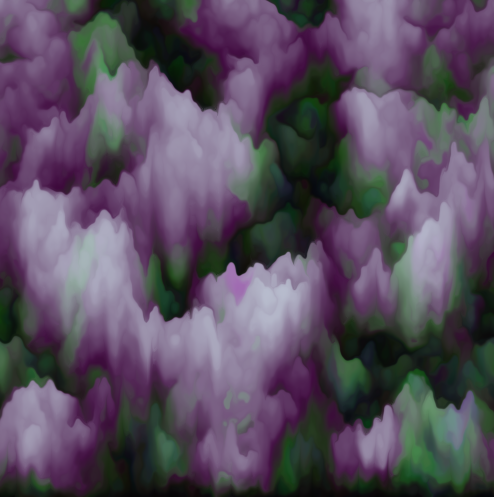
 Psychedelicccccc!
For more practical application and artistry, here's an example of an image I started building yesterday in my spare time at work (W.I.P.W.I.P.W.I.P):
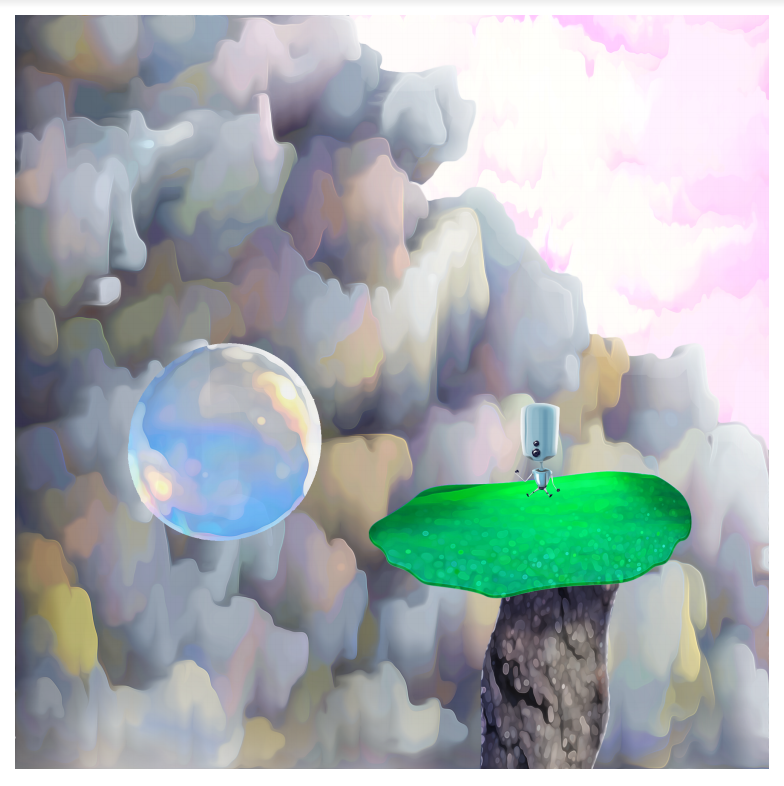
Innit cute? So, use this "filter" if you want to quickly make some watercoloured looking backgrounds or something, or to embed as a texture onto an object of sorts. Have fun.
If anyone wants my set of photoshop actions to play around with (I also made one to automate my previous tutorial) lemme kno and I'll get them when I'm at work again.