Photoshop Basics 101: How to make a gradiant
I'm going to try to make this the most interesting way I can.
There will be another addition to gradiants just some tricks. Anywhoos lets start!
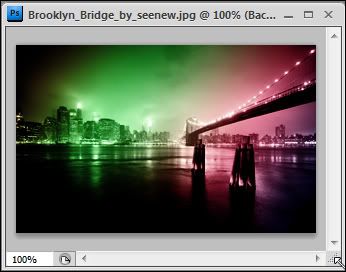
Lets start with a simple gradiant, to colorize this image.

Lets start out by finding the Gradiant tool! In photoshop there are a lot of tools hidden within the tool window. The gradiant tool should be behind the Fill tool. Just simply right click the fill tool and you'll see a window pop up to select the gradiant tool.
However, perhaps the gradiant tool is already set on the tool window. Then you're already a step ahead! D:

Then at the top of the screen you will see the gradiant options. Seeeee it?
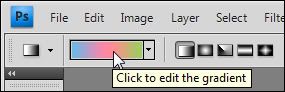
Click on the gradiant for more gradiant options! This is where the magic begins.
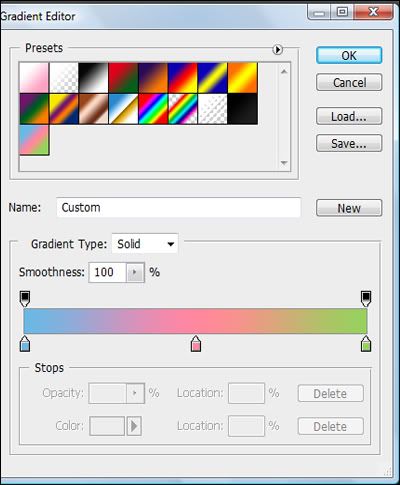
And vavooom more gradiant options! Now we can start.
Now lets set the colours. See the points near the colour bar? You can move those around to change your gradiants

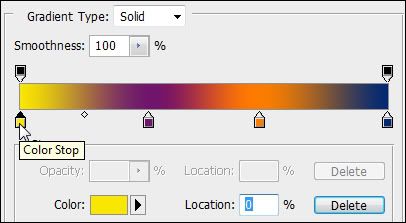
Now how do to choose your own colours? Click one of the points on the colour bar then click the colour in the color</c> box. As shown in the image.
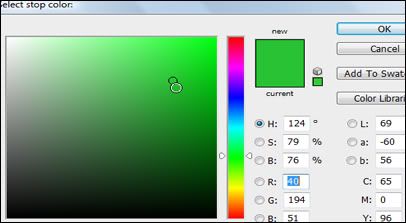
Then you simply choose your colour. Also if you move the cursor outside the window the eye dropper tool will be shown, and you can select the colour your want from the image! (I'll explain this better in another gradiant tutorial)
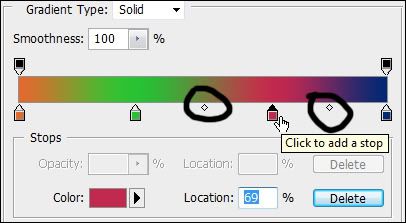
I forgot to mention the tiny points on the colour bar. You can stretch or shrink out the colour of the points with those. Just move them around.

The top points of the color bar represent the opacity. You can adjust the transparency of the gradiant here. (I will also show a tip about this in another tutorial).

Next you will need to save your gradiant! Or it will disappear D:.
You dont have to make a name for it. You can simply just press the New button and the gradiant will be saved.
Like in this image you can see my saved gradiant! (Lol @ one - i had to reset my photoshop since i got a new laptop)
Then finally just use your gradiant, in gradiant overlay or such and such.
And ta da